 CueBuddy
 Scan with your phone to download
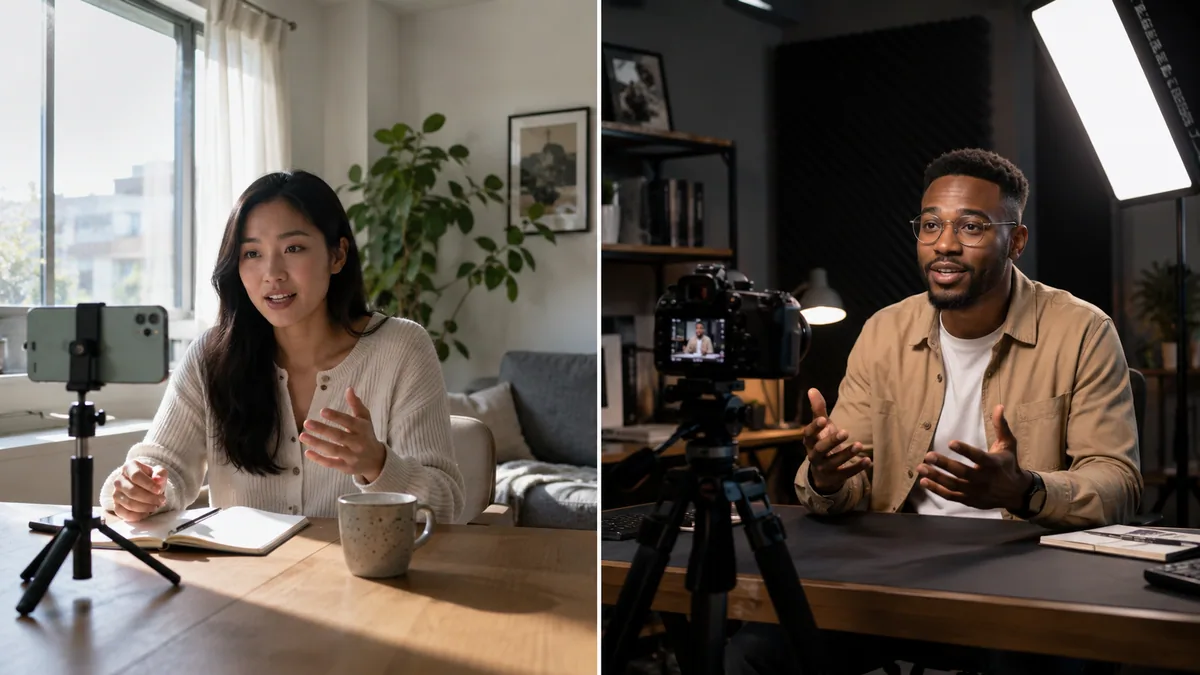
"Natural vs. artificial" isn't about which is better. It's about which one fits the situation.
A scene shot under an LED panel at night can look more consistent than anything shot by a window — same brightness all the way through, same color temperature, no cloud drifting past and suddenly dimming the frame. Natural light has irreplaceable qualities; studio light has its own.
What Natural Light Gets Right: Enormous and Free
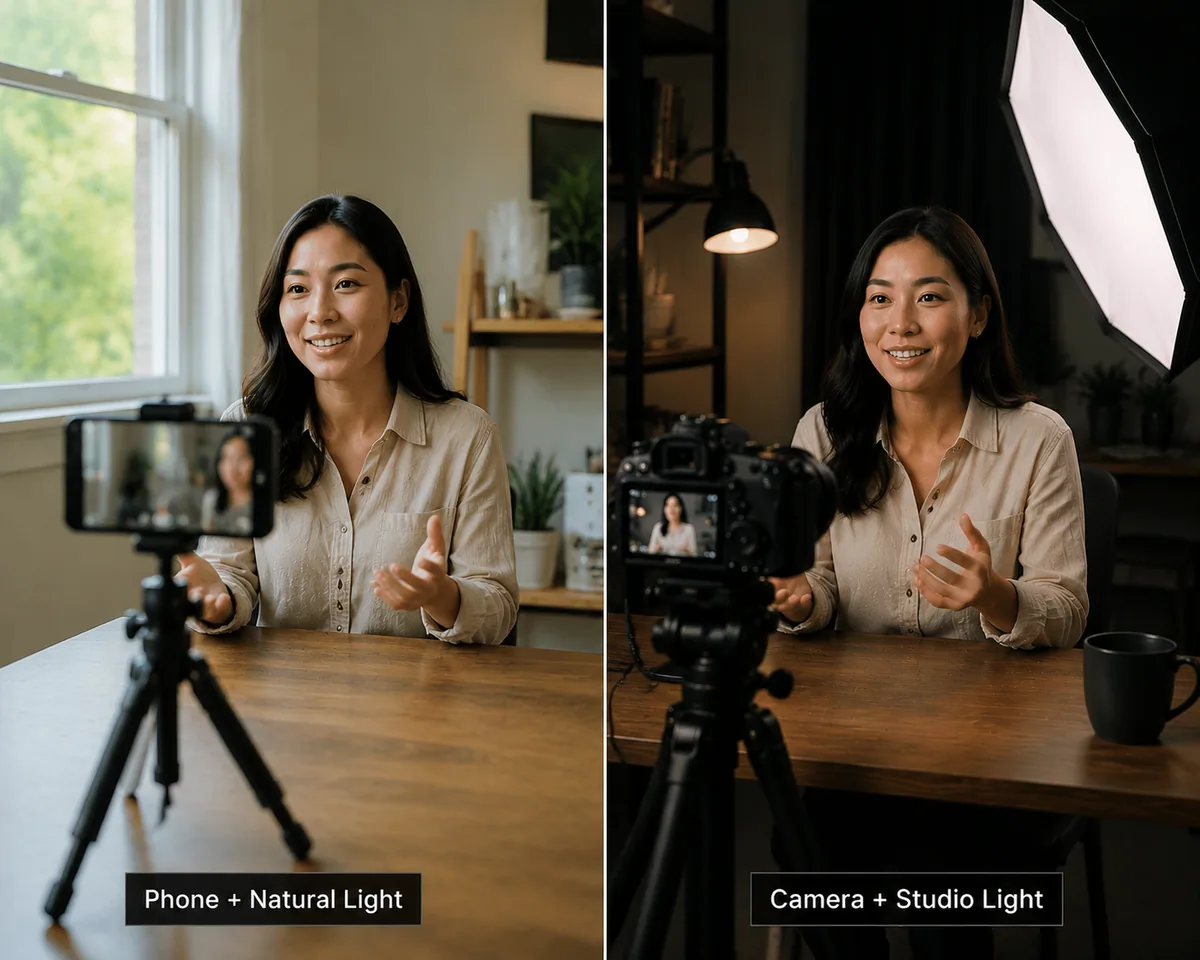
The biggest advantage of natural light isn't that it costs nothing. It's that the light source is infinitely large.
On an overcast day, the entire sky is a giant softbox. Light scatters in from every direction. Shadows nearly vanish. Transitions are impossibly smooth. This is why people look amazing in overcast portraits — skin texture, catchlights, and hair detail all sit in the most flattering light conditions imaginable.
Window light works the same way. A big window is a natural soft key light, no assembly required.
Natural light is ideal when:
- You have a consistent daytime shooting habit
- Your setup is near a large window
- You're going for a "natural, unpolished" aesthetic
- Your content doesn't need frame-to-frame consistency across shoots
Where Natural Light Falls Short: You Can't Control It
Weather changes, light changes. Sun to clouds shifts color temperature from 5600K toward 7000K. Brightness can jump two full stops of exposure.
Worse: footage shot on two different days under different lighting conditions means skin tones that don't match. No amount of grading can fully reconcile it. This becomes a real problem for multi-day shoots or batch-recording a series.
There's also the time window. Golden hour — the hour after sunrise and the hour before sunset — produces gorgeous light. But it's genuinely short. Being ready to shoot and realizing the sun is about to set creates real pressure.
What Studio Light Gets Right: Stable and Repeatable
Turn a light on. It's that bright. It's that color temperature. Today's footage and next month's footage will match.
This is the fundamental reason most professional creators use artificial light — not because natural light isn't good enough, but because a workflow needs predictability.
Studio light is ideal when:
- You shoot on a fixed schedule (e.g., every evening after work)
- You're batch-recording or producing a series
- You need brightness and color temperature locked across all clips
- Your shooting space has no decent natural light source
Where Studio Light Falls Short: It Has a Learning Curve
A light isn't plug-and-play. Angle, distance, diffusion method, brightness ratio, color temperature matching — every variable needs testing. Spending an hour or two on your first lighting setup is completely normal.
Lights also need space. Softbox unfolded, stand extended, cables run — you're giving up at least a square meter or two of your room. For anyone in a small apartment, that's a real cost.
Can You Mix Both?
Yes. And when it works, it's beautiful.
The classic hybrid: window light as your key, one LED as fill or rim. You keep the soft quality of natural light while using artificial light to control shadows and separation.
The non-negotiable rule of mixing: color temperatures must match. If your window light is around 5600K, set your fill light to 5600K. Shooting near sunset with warm window light (around 3200-4000K)? Warm up the fill to match. Mixed color temperature is the number one destroyer of good footage.
Practical Recommendations
If you're new to this: Start with natural light. Learn to see light direction, hardness, and color temperature shifts. Shoot 30 videos with natural light first. By then, you'll know exactly what you need — more consistent brightness? Better shadow control? The ability to shoot at night? Buy lights to solve those specific problems, not because a review told you to.
If you've been shooting for a while: A basic light kit is the highest-ROI investment you can make in image quality. A couple hundred dollars, used right, jumps your footage up a full tier. Lights don't go obsolete — what you buy this year will still work three years from now.
The bottom line: the more variables you control, the more consistent your output. But not everyone needs that level of consistency — it depends on your rhythm and your content style.
Try the free online teleprompter first
If you are solving script, pacing, line-memory, or filming workflow issues, open the browser teleprompter first and test the script there. Use the CueBuddy app when you need a stronger mobile recording workflow.
Start your next recording with CueBuddy
Try the free teleprompter workflow first, then open CueBuddy if you need stronger recording and camera workflows.