 CueBuddy
 Scan with your phone to download
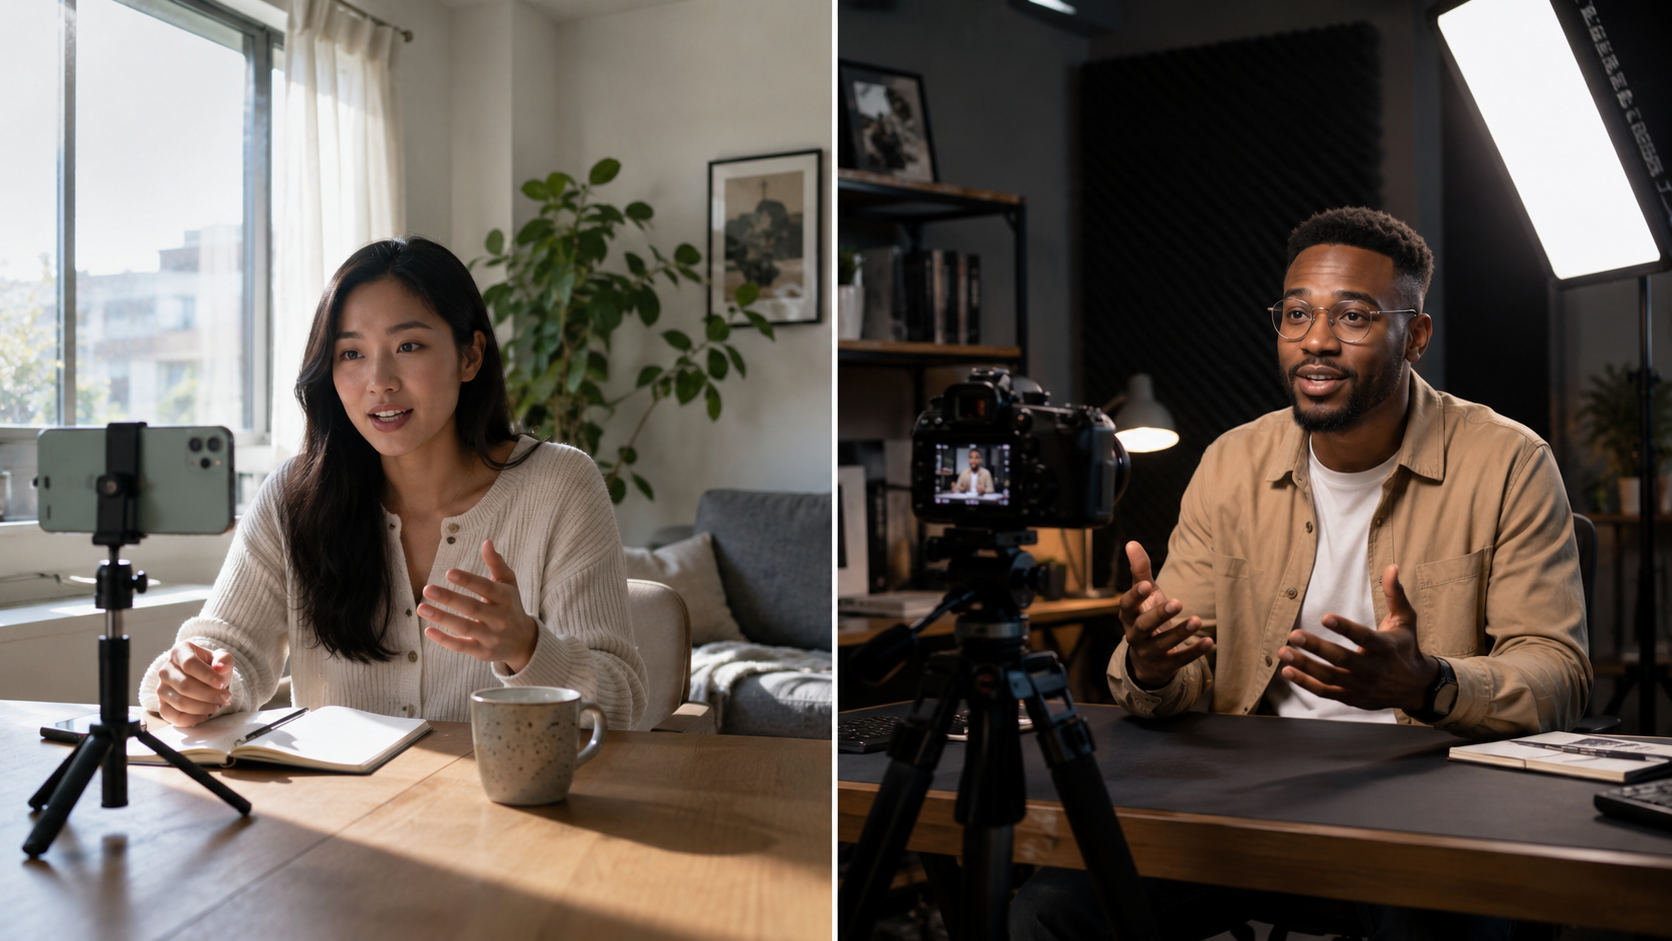
Here's a fact that takes many creators too long to learn: light is the real sensor. No light, and the best gear is just a paperweight. With good light, even a phone's default output can make people stop scrolling.
A clip shot at 4 PM with sunlight through a side window can look better than anything shot after spending hundreds on gear upgrades — because light quality defines the image foundation. Gear only builds on top.
Before We Start: Three Terms You Should Know
Key Light: The brightest light on your face. It defines the overall brightness and mood of the shot.
Fill Light: Softens the shadows created by the key light. Keeps the dark side from going completely black. Typically one to two stops dimmer than the key.
Rim Light: Comes from behind or from the rear-side. Creates a thin bright line along the edge of hair and shoulders, pulling the subject out from the background.
This is the classic three-point lighting setup. Zero-cost build: a desk lamp as your key, a sheet of white paper as your fill reflector, and your phone screen at max brightness behind you as the rim light.
Setup 1: $0 — Window + White Wall
If you have a south- or north-facing window, you already own a free, enormous, soft key light.
Key moves:
- Face the window. Let natural light hit you from the front or side.
- Light too harsh (direct sun on a clear day)? Pull a white sheer curtain or thin bedsheet across. It instantly becomes a softbox.
- Uneven lighting? On the shadow side, prop up a white foam board or sit near a white wall. The bounce naturally becomes your fill.
The catch: weather and time. Overcast day? Light's gone. Nighttime? Forget it. This is the best zero-budget option, but it won't work if you need to shoot on a fixed schedule.
Setup 2: $30-80 — LED Panel + Reflector
For about $30 you can get a palm-sized LED video light. For $50-80, a 10-inch desktop panel. Bright enough for talking-head videos.
How to use it:
- Place the light 45 degrees to the side of your face, roughly half a meter to a meter away.
- Tape parchment paper (yes, the baking kind) or diffusion paper in front of the light. Bare LED straight to the face is harsh — it picks up every pore and fine line.
- On the dark side, bounce light back with a reflector or white foam board.
Upside: you can shoot anytime, weather doesn't matter. Downside: the light source is small, so quality leans hard unless you DIY the diffusion.
Setup 3: $150-300 — Softbox + Light Stand
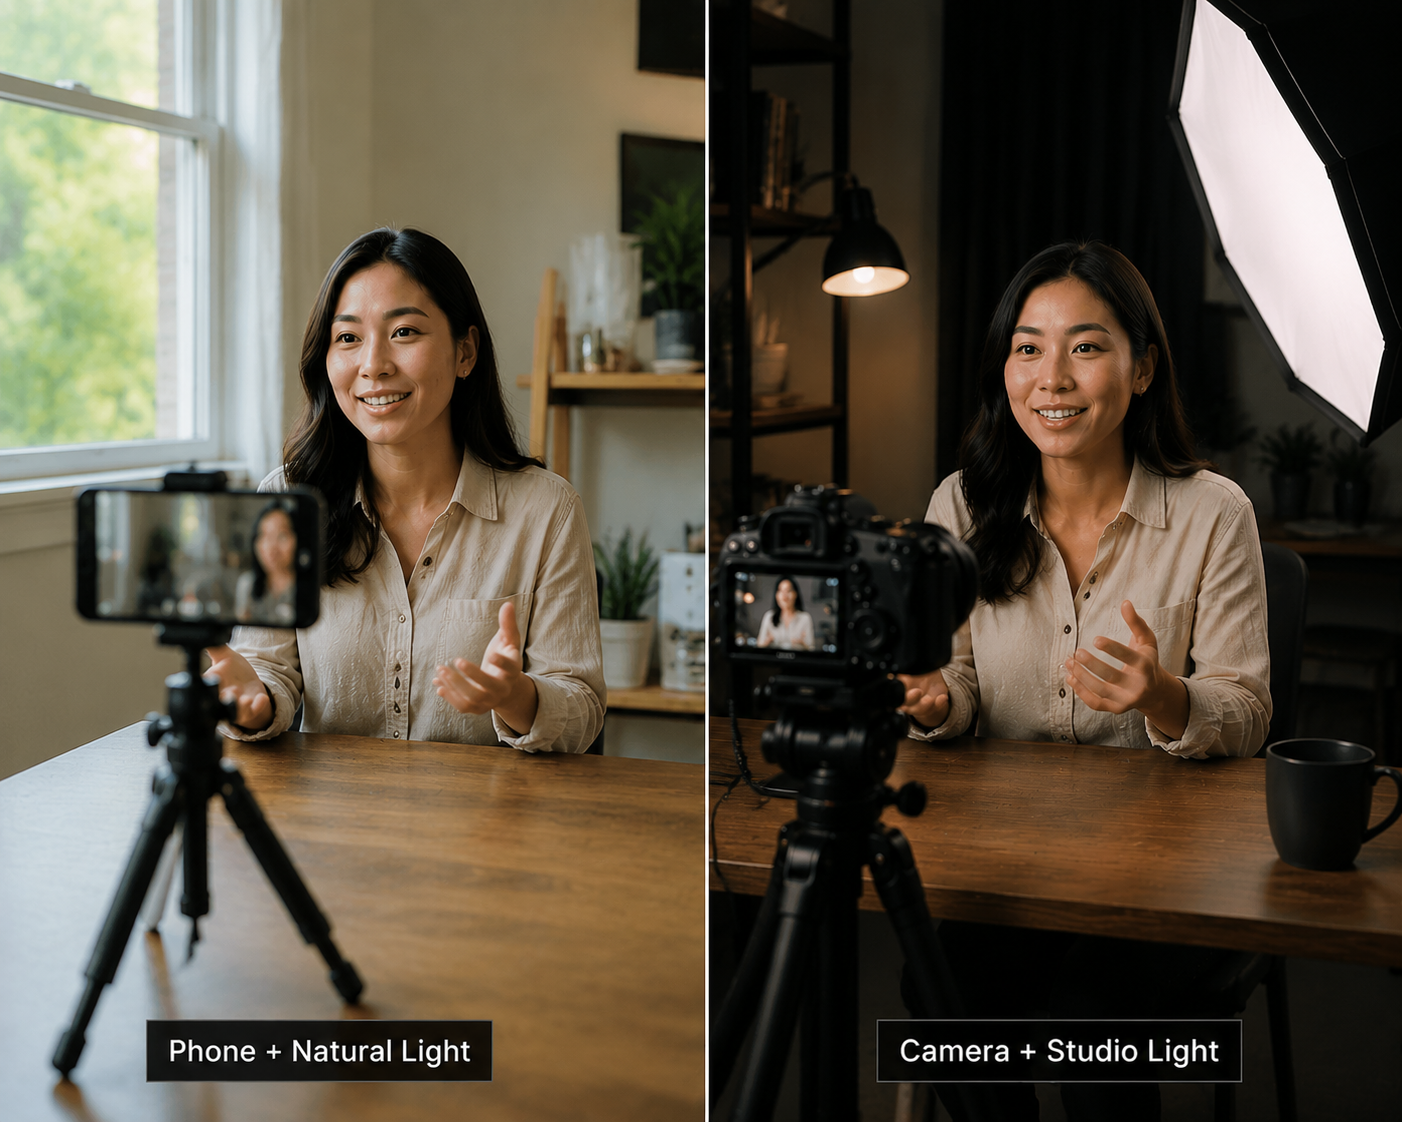
At this budget, you can buy a proper entry-level photography light.
Recommended starter: a 60cm spherical softbox + dimmable LED bulb + light stand. Around $150-200 total.
The point of a softbox isn't to make things "brighter" — it's to make the light source bigger. Bigger source = softer light. Why do people look good on overcast days? The entire sky becomes your light source. A spherical softbox simulates that — it turns a tiny bulb into a big ball of light.
In practice: softbox at 45 degrees to the front-side, one to one-and-a-half meters away. If possible, add a tiny light behind you for rim — a $10 LED strip taped to a bookshelf works.
Setup 4: $300+ — Two-Light System
Two lights is a qualitative leap. Going from one to two isn't just "one more light" — it's an entire extra dimension of control.
Typical configuration:
- Light 1 (key): softbox, 45 degrees front-side.
- Light 2 (rim): behind and to the side, hitting the edge of hair and shoulders.
With two lights, the subject gets visually "pulled" out of the background. This effect is especially dramatic on phone footage — phone sensors have limited dynamic range and depend even more on light to create depth.
Two Things Nobody Tells You
One: Color temperature.
If your light has adjustable color temperature, pick one value and stick with it. 3200K (warm yellow) today, 5600K (daylight white) tomorrow — your edit becomes a nightmare. Never mix temperatures. Key light warm, fill light cool? Half your face yellow, half blue. No amount of grading fixes that. Beginners: stick to 5600K daylight. It matches window light and looks natural on most skin tones.
Two: Light height.
Your key light should be at eye level or slightly above. Too low — weird upward shadows appear on your face (horror-movie lighting). Too high — eye sockets and jawline get heavy shadows. Sweet spot: 45 degrees to the front-side, height roughly level with your forehead.
Actionable Advice
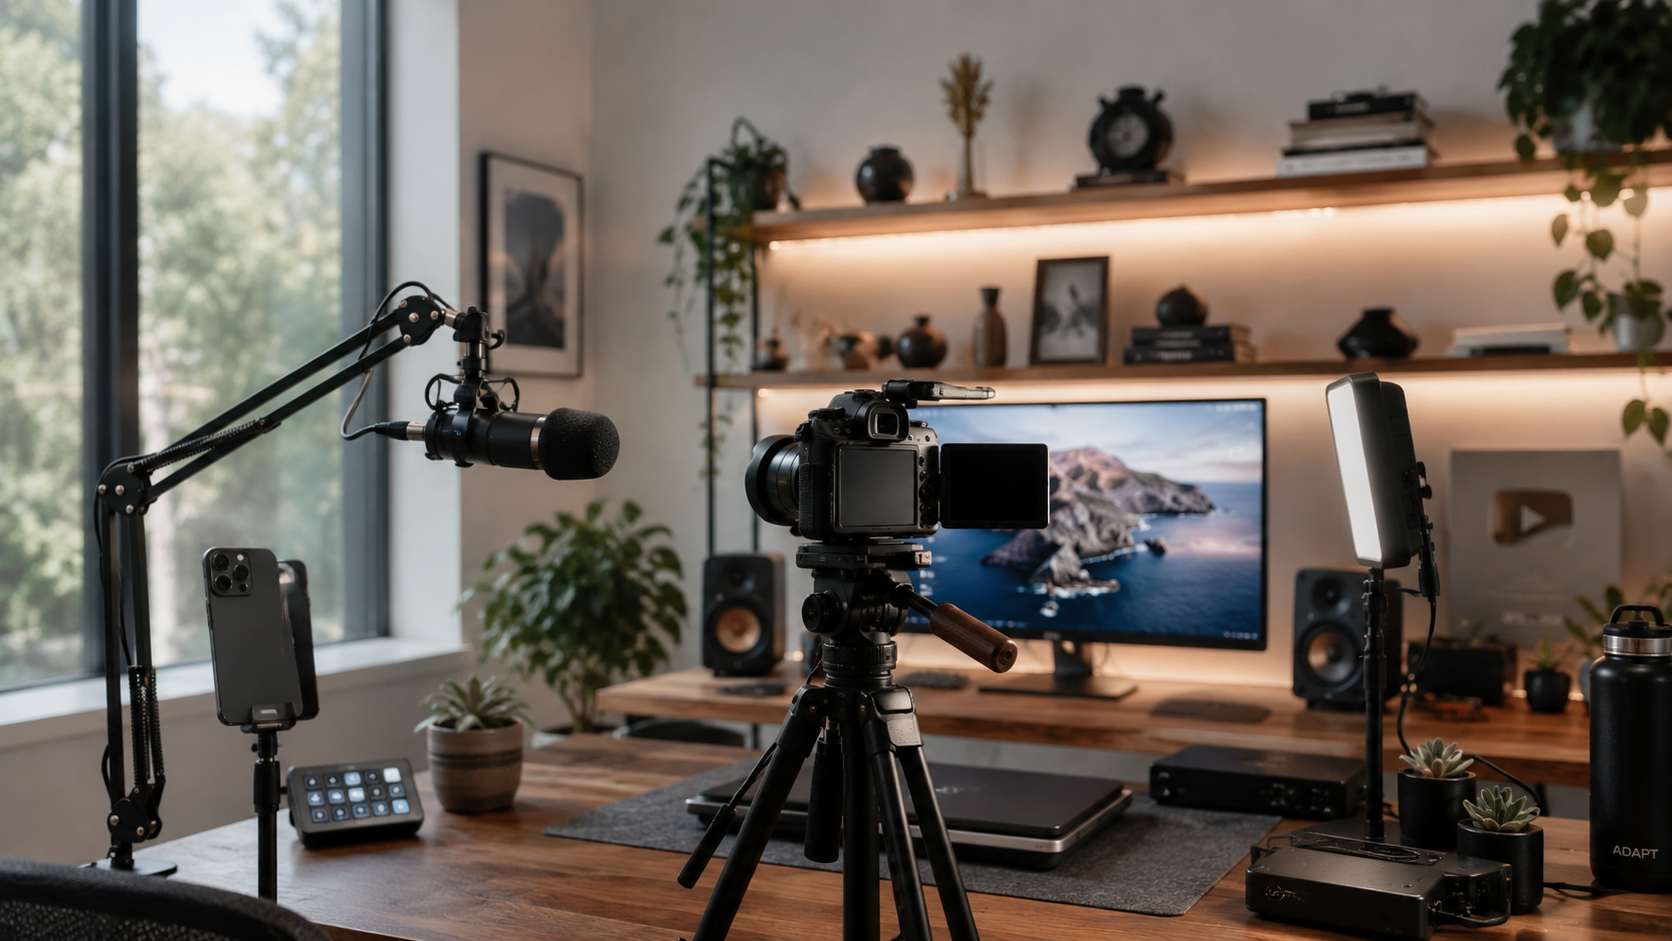
Zero budget? Try Setup 1. Find a window. Pick a sunny afternoon. Sit so the light hits you from the side. Record a clip. Compare it to something shot under your room lights. The difference will be immediately obvious.
Have some budget? Start with Setup 2 or 3. A few hundred dollars, used right, jumps your footage up a full tier. And lights don't go obsolete — what you buy this year still works three years from now.
Try the free online teleprompter first
If you are solving script, pacing, line-memory, or filming workflow issues, open the browser teleprompter first and test the script there. Use the CueBuddy app when you need a stronger mobile recording workflow.
Start your next recording with CueBuddy
Try the free teleprompter workflow first, then open CueBuddy if you need stronger recording and camera workflows.