 CueBuddy
 Scan with your phone to download
Camera position matters more than most people realize. Same gear, same lighting, same person — put the camera in the right spot versus the wrong spot, and the difference is dramatic.
Camera positioning breaks down into three dimensions: height, distance, and angle.
Dimension 1: Height — The Lens-to-Eye Relationship
The most common mistake: the camera sits too low.
Phone flat on the desk, lens pointing up from below. Regardless of who you are, this angle flatters no one — double chin, nostrils, and a strange looming presence. The viewer subconsciously feels you're looking down at them.
The fix: get the lens level with your eyes, or slightly above.
- Level: The viewer feels like you're having an equal conversation. Ideal for interviews, talking-head videos, and educational content.
- Slightly above (5-10 cm higher than eyeline): Makes the face look sharper, jawline tighter, eyes bigger. Basic perspective, not magic.
When is a lower camera position appropriate? Action shots, outdoor adventures, or when you want that "hero" angle. For everyday content, one rule covers you: raise the camera to at least eye level.
How to achieve it:
- Desktop tripod too short? Stack some books under it.
- Get an adjustable phone stand.
- Place your phone on top of your monitor — this angle produces the most natural-looking talking-head footage because you're already looking at the screen while speaking.
Dimension 2: Distance — How "Close" You Are
Distance affects two things: perspective and intimacy.
- Too far: Your face becomes a tiny patch in the frame surrounded by environment. The viewer feels like you're talking from across the room — connection weakens. Use this distance only when showing a scene or demonstrating an action.
- Too close: The wide-angle lens distorts your face — nose bigger, ears shrink, face stretched. Phone front-facing cameras are especially prone to this because they're typically wider than the rear camera.
The right distance: your head and shoulders fill roughly two-thirds of the frame vertically, with comfortable space on the sides. This is what someone sees when sitting across from you in conversation. At this distance, the viewer feels a one-on-one connection.
If using the rear camera (better quality than the front) and you can't see yourself: place a mirror behind the phone, or mark your position with an object. Shoot test clips, review, adjust, and remember the spot.
Dimension 3: Angle — Straight On or Slightly Off
- Dead-on: Strongest impact. Direct eye contact, no turning away. Use when stating an opinion, giving advice, or projecting authority.
- Slight turn (body angled 15-30°, eyes still on lens): More relaxed, more conversational. Stronger social vibe — you're "sharing" rather than "announcing."
- Full 90° side profile looking away: Classic interview setup. But never use this solo — the viewer can't see your face and feels ignored.
A practical default: body turned about 20 degrees to one side, phone positioned slightly off-center opposite. Posture stays natural, hands can gesture, and you avoid the passport-photo stiffness.
60-Second Pre-Shoot Checklist
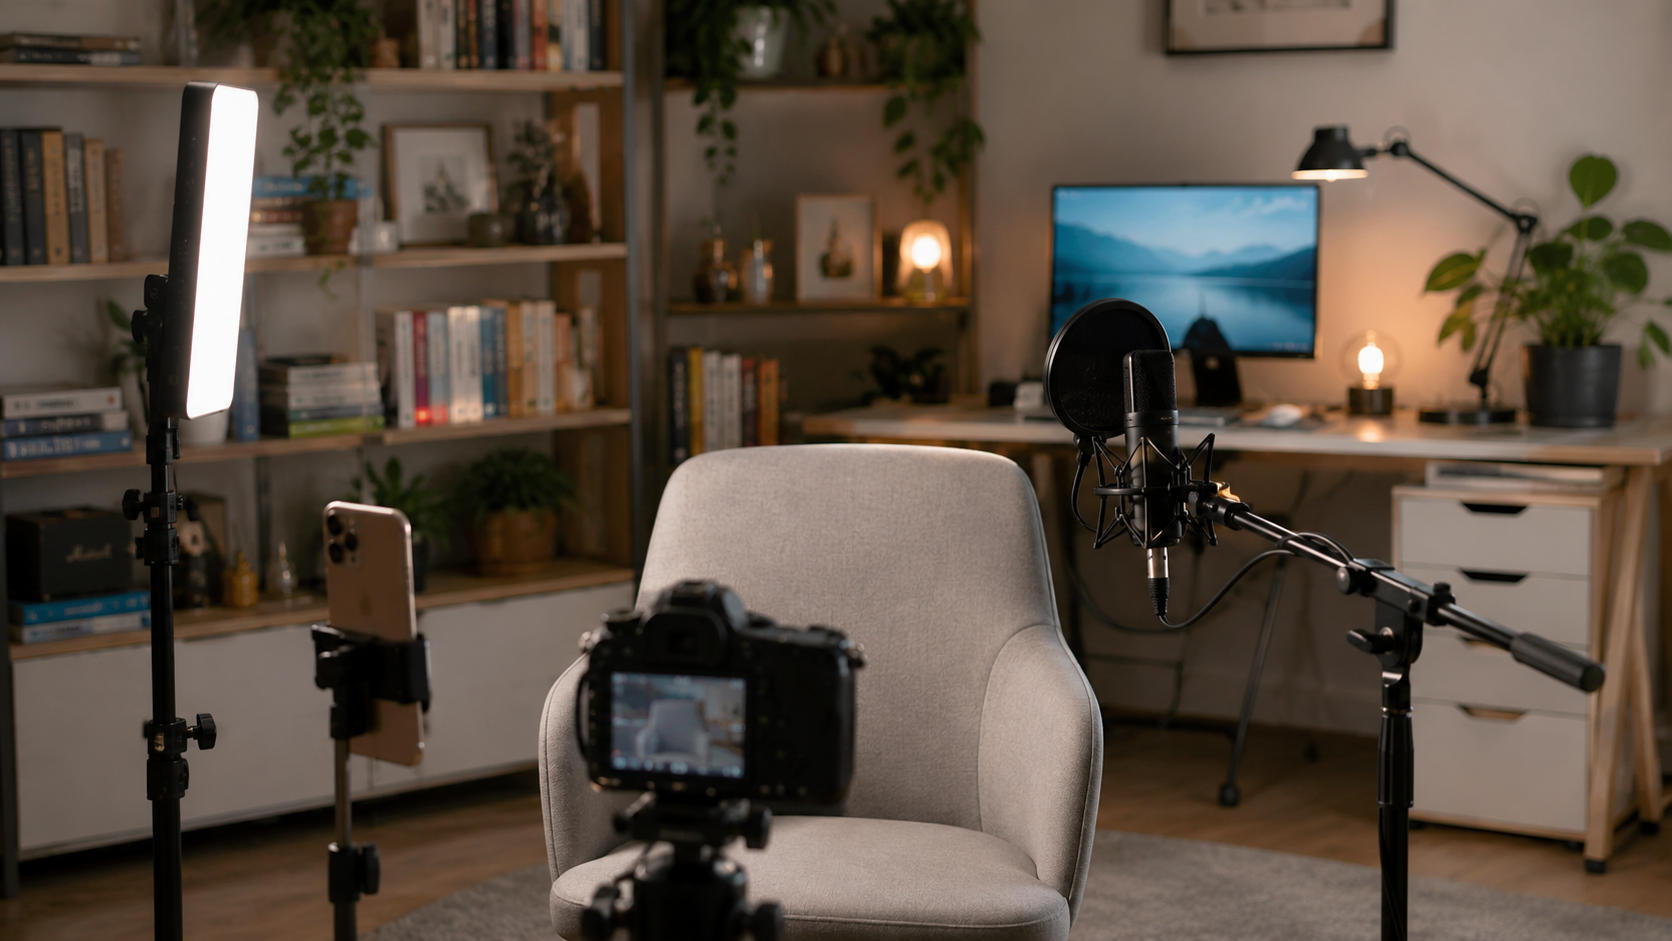
Before hitting record, run through these three questions:
1. Height: Is the lens at eye level? If not, stack something and raise it. 2. Distance: Does your upper body fill roughly two-thirds of the frame? Too far? Step forward. Too close? Step back. 3. Angle: Are you "announcing" or "chatting"? Dead-on for the former, slightly turned for the latter.
Nail these three and your footage will at minimum look comfortable. And "comfortable" is the prerequisite for a viewer to keep watching.
Try the free online teleprompter first
If you are solving script, pacing, line-memory, or filming workflow issues, open the browser teleprompter first and test the script there. Use the CueBuddy app when you need a stronger mobile recording workflow.
Start your next recording with CueBuddy
Try the free teleprompter workflow first, then open CueBuddy if you need stronger recording and camera workflows.