 CueBuddy
 Scan with your phone to download
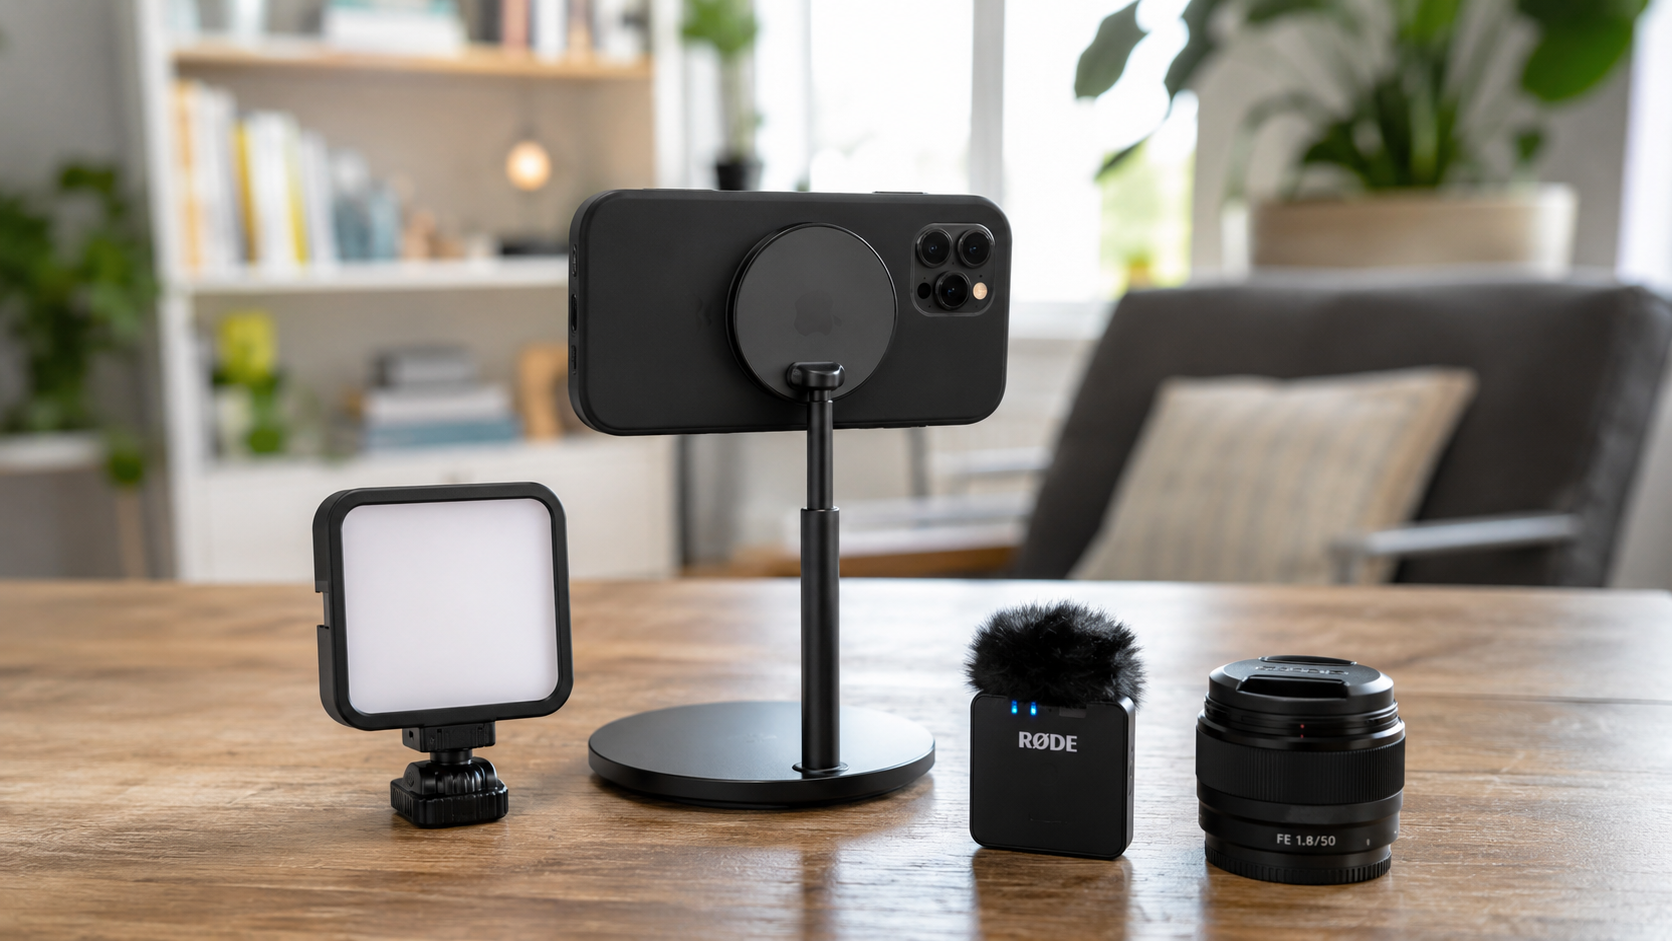
A genuinely good idea hits you, and you want to pull out your phone and record it immediately. But there's no tripod. No teleprompter setup. Not even a place to sit down.
What you need isn't a complete filming rig. You need the lightest possible solution. That's what a floating teleprompter is for.
What Is a Floating Teleprompter?
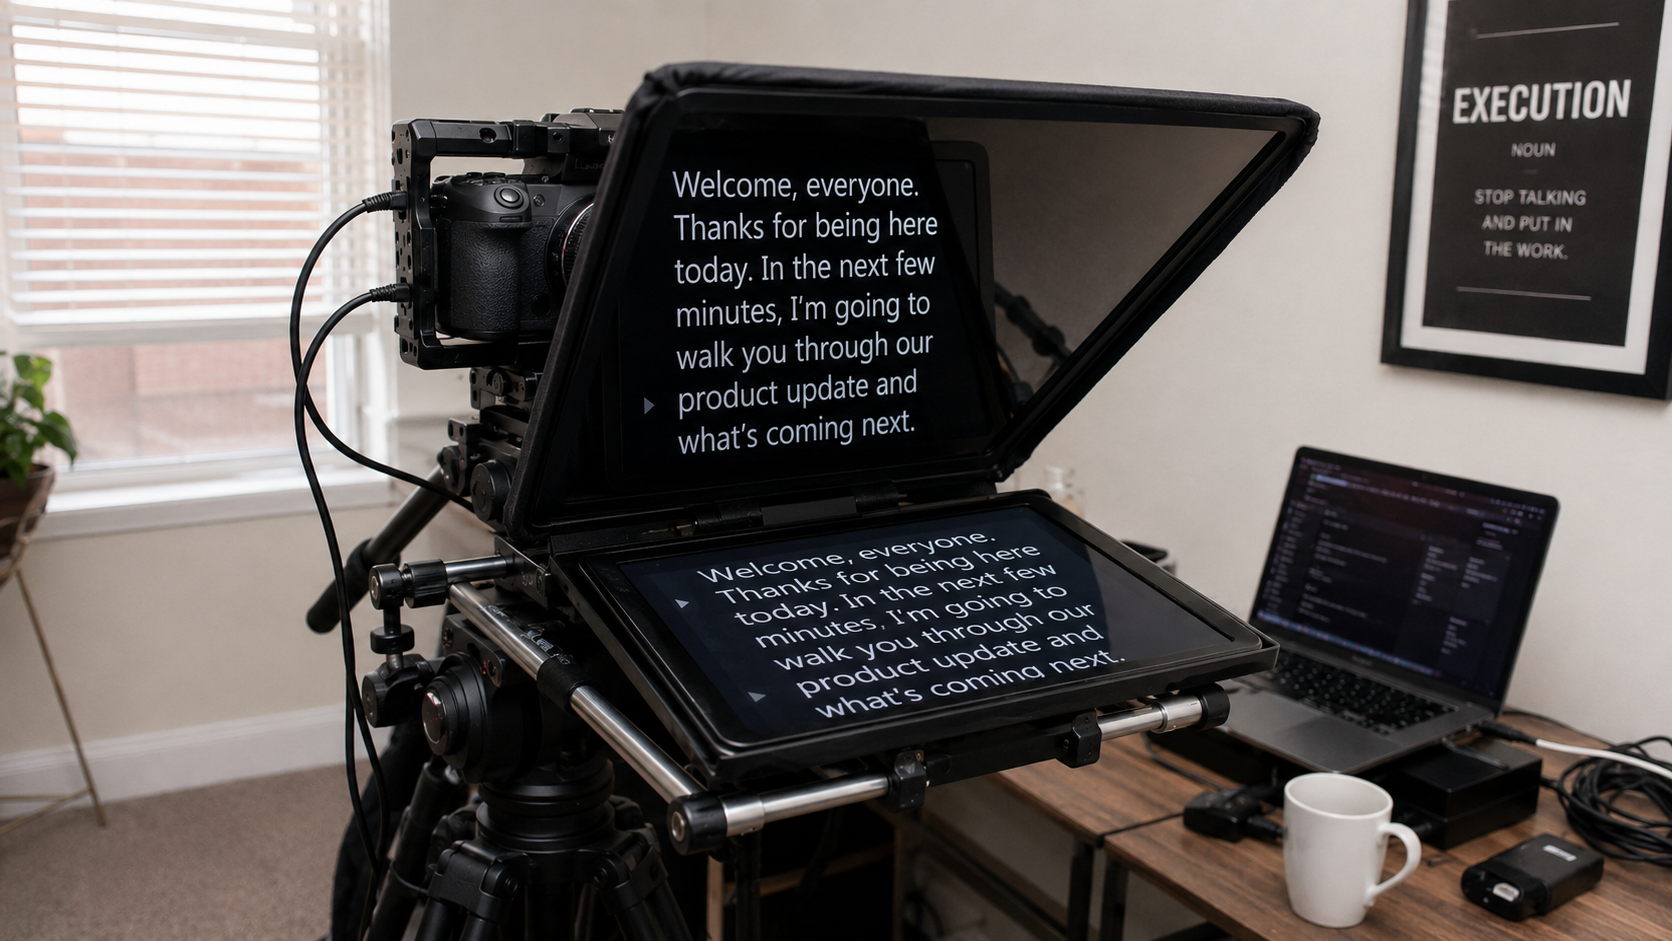
Open the app. The prompter text doesn't fill the screen. It doesn't even sit in a fixed zone. Instead, it floats — a small, movable window, like the picture-in-picture mini-player in a video call — hovering wherever you drag it. You can move it. Resize it. Adjust its transparency. Put it exactly where it feels most natural.
Then open your camera. The text floats above your preview. You see yourself, and you see your words. No second device. No stand. One phone. Standing, sitting, leaning against a wall — hit record and go.
In CueBuddy, this is called "Floating Prompter (PiP)." PiP = Picture in Picture.
How It's Different from Full-Screen and Window Modes
Full-screen mode: Text fills the display. Great clarity for reading, but you can't see your framing (or see very little of it). Best for fixed-position, pre-framed setups.
Window mode: Text scrolls inside a fixed window that takes up part of the screen. The rest is your camera preview. More flexible than full-screen, but the window position is usually locked.
Floating mode: The text window behaves like a sticker on your preview. Drag it anywhere. Scale it. Tune the opacity. Park it one centimeter from the front camera. Or drop it to the bottom edge where a slight downward glance catches it.
Three modes, progressively more freedom. Floating is the most liberated of the three.
What Floating Teleprompter Is Perfect For
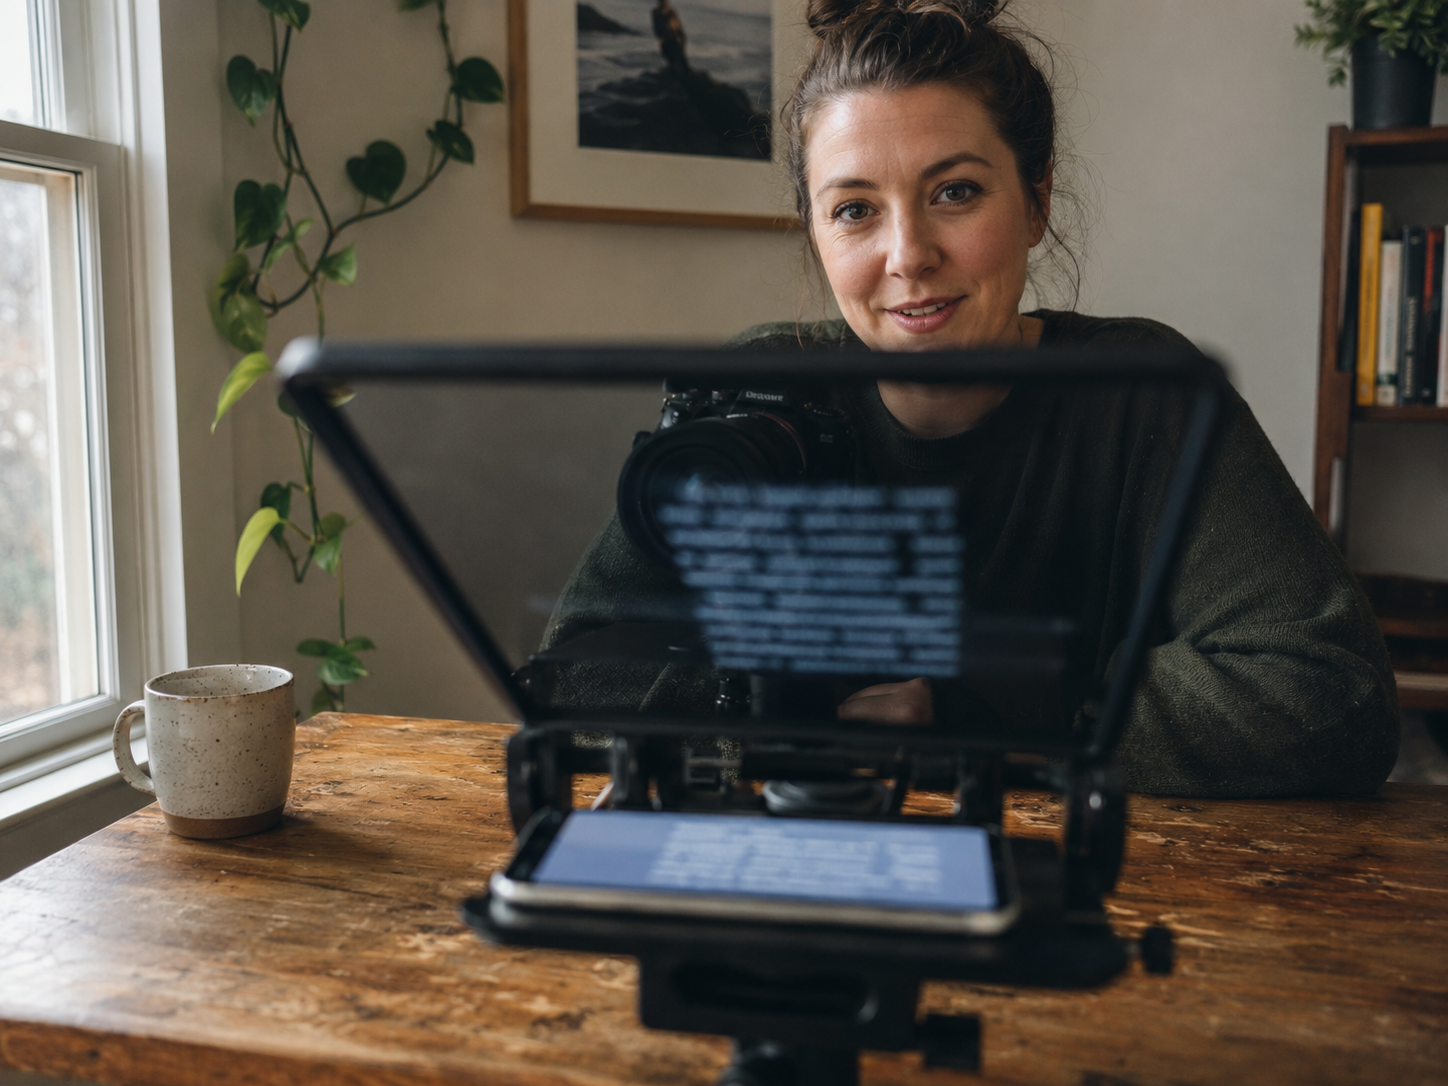
Walk-and-Talk Recording
You're out on the street. An impromptu thought hits. Phone in hand, front camera on, floating text sits at the top edge of the screen. Walk normally, talk naturally, and a quick glance gives you the next line. No tripod. No fixed position. No "setup ritual" — just walking and talking.
Idea Capture
Inspiration doesn't wait. A sharp opinion pops into your head, and if you don't record it now, it's gone. Open CueBuddy, hammer out a few dozen words into the editor, enable floating mode, hit record. From thought to video in 60 seconds. Refine and re-record later — but you captured the moment.
On-Location Commentary
You're somewhere interesting and want to record an environment-plus-narration video — explaining a painting at a gallery, reviewing a pour-over at a café, discussing produce at a market. You need to see your surroundings while still having prompter support. The floating window doesn't block the scene. Show the environment and narrate simultaneously.
Selfie-Style Vlog
Front camera, you talking — the most common talking-head format. Position the floating window at the top of the screen, right next to the camera. Reading angle and lens angle nearly identical. Eye-line shift is minimal.
How to Configure It for Comfort
First time using a floating prompter, you might instinctively put the window dead center. Don't.
Recommended setup:
- Position: Upper half of the screen, as close to the front camera as possible. Camera top-center? Window goes top-center. Dynamic Island? Put the window right below it.
- Size: Show only 2–3 lines of text. Large enough to read comfortably, small enough to still see your framing.
- Opacity: 60–80%. Fully opaque blocks your preview. Too transparent, you can't read. Find the value where reading is comfortable but the window doesn't feel like an obstruction.
- Font size: One notch bigger than you'd use in full-screen mode. The floating window itself is small, so the text needs extra punch to stay legible.
CueBuddy's floating window supports independent adjustment of all four parameters. Set it once, save as your default. Next session, it's ready immediately.
Floating Prompter + AI Voice Tracking = The Ultimate Lightweight Setup
The floating prompter is already the lightest option. Layer on AI voice tracking, and you eliminate even the need to manually control the scroll.
Open floating mode → enable AI tracking → hit record. You talk, it follows. You pause, the text waits. You accelerate, it glides along. Zero screen touching required.
This combination is perfect for idea capture and walk-and-talk recording. Both hands stabilize the phone (or hold your coffee). Eyes check the path and environment. Mouth delivers the words. The prompting itself shrinks to the absolute minimum possible footprint.
The Limits of Floating Mode
It's not for everything:
- Shooting distance over 1.5 meters. The phone is too far away, the floating window too small, the text unreadable. Switch to an iPad or full-screen mode.
- When you need to see full paragraphs. The floating window only shows 2–3 lines. If you need broader context to stay oriented, full-screen is better.
- Tightly composed shots. Even with transparency, a floating window occupies screen real estate. If every pixel of your frame needs to be clean, use full-screen mode with a proper beam-splitter prompter rig.
How to Get Started
If you're on CueBuddy: open the app → paste your script → tap "Floating Prompter" mode → adjust window position and size → hit record. Your first floating prompter video is born.
Haven't downloaded it yet? Search "smart teleprompter" on the App Store, or search CueBuddy directly. The free version includes floating prompter and AI voice tracking — enough to explore for an afternoon.
The lighter the tool, the faster you move. A floating teleprompter is so light you forget it's there. No gear to arrange. No parameters to obsess over. No mental warm-up needed. Idea arrives → record → done.
For a creator just starting out, nothing matters more than lowering the barrier to action.
Try the free online teleprompter first
If you are solving script, pacing, line-memory, or filming workflow issues, open the browser teleprompter first and test the script there. Use the CueBuddy app when you need a stronger mobile recording workflow.
Start your next recording with CueBuddy
Try the free teleprompter workflow first, then open CueBuddy if you need stronger recording and camera workflows.