 CueBuddy
 Scan with your phone to download
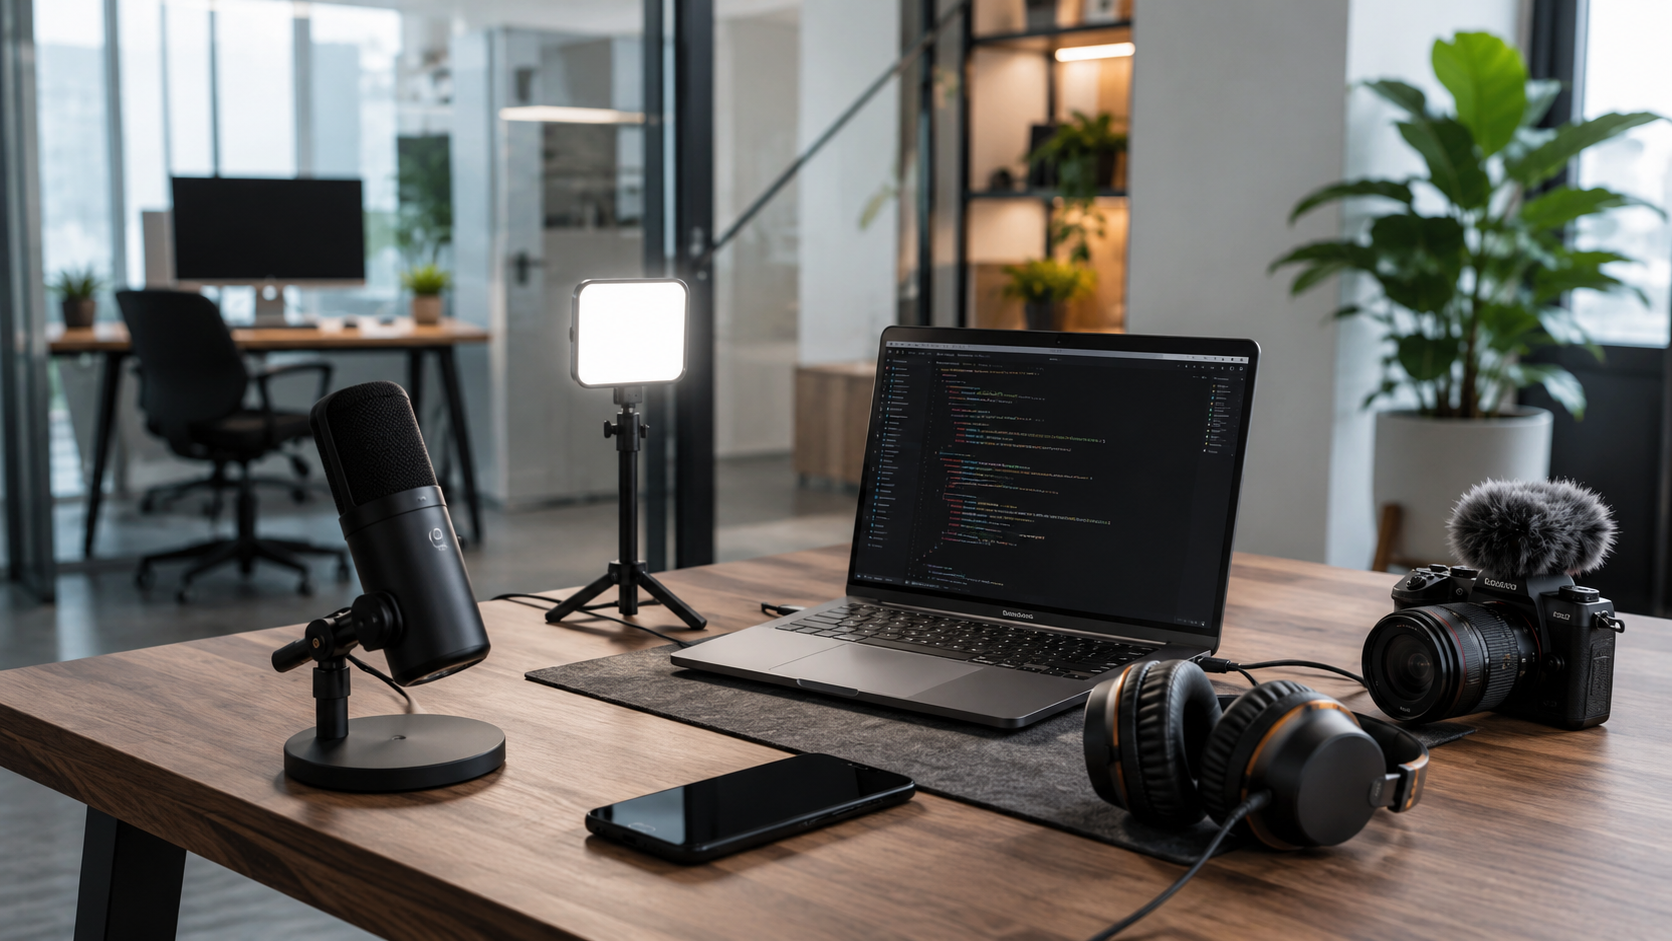
Many people get stuck at "I want to make videos" — clips sitting in their phone, editing apps installed, tutorials bookmarked — but no first video.
The problem isn't ability. It's the lack of a runnable process. Here's the full roadmap, every step concrete enough to execute today.
Step 1: Forget Gear. Answer One Question First.
Who is this for?
Most people jump straight to "should I buy a camera?" and "what lighting do I need?" But if you haven't figured out your content, gear is a distraction.
Write three sentences:
- Who am I making this for? (e.g., office workers who want to learn to cook)
- What do they get from watching? (e.g., a 10-minute weeknight dinner)
- Why am I the person to talk about this? (e.g., I've been cooking for three years, made every mistake)
These three sentences guide every decision that follows — tone, pacing, whether you need subtitles, video length. More useful than anything you'd spend money on.
Step 2: Here's All the Gear You Actually Need
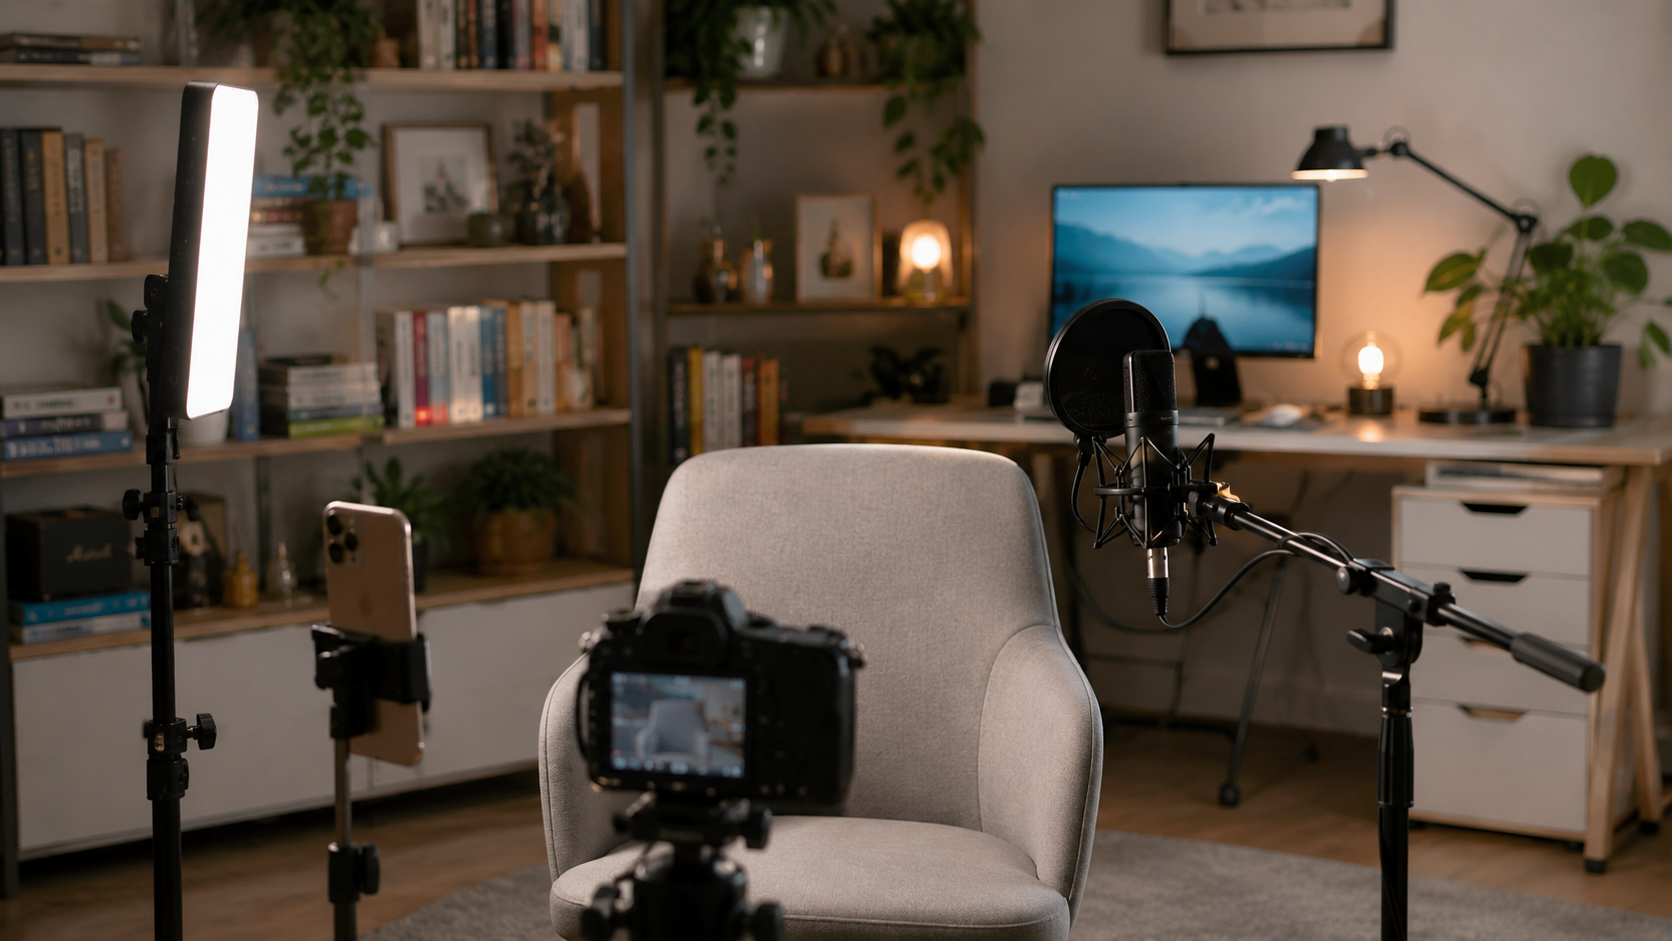
Starting from absolute zero:
1. A phone that shoots 1080p — the one in your pocket 2. A stable position — stack of books, cheap tripod, lean against a wall. Just don't hand-hold. 3. Natural light or a desk lamp — face a window during the day. At night, a lamp with white paper as bounce.
That's it. Phone mic is fine in a quiet room. A window beats most budget light kits. Don't spend money on your first video. Making it will improve it. Spending won't.
Step 3: Write a Script You Can Actually Shoot
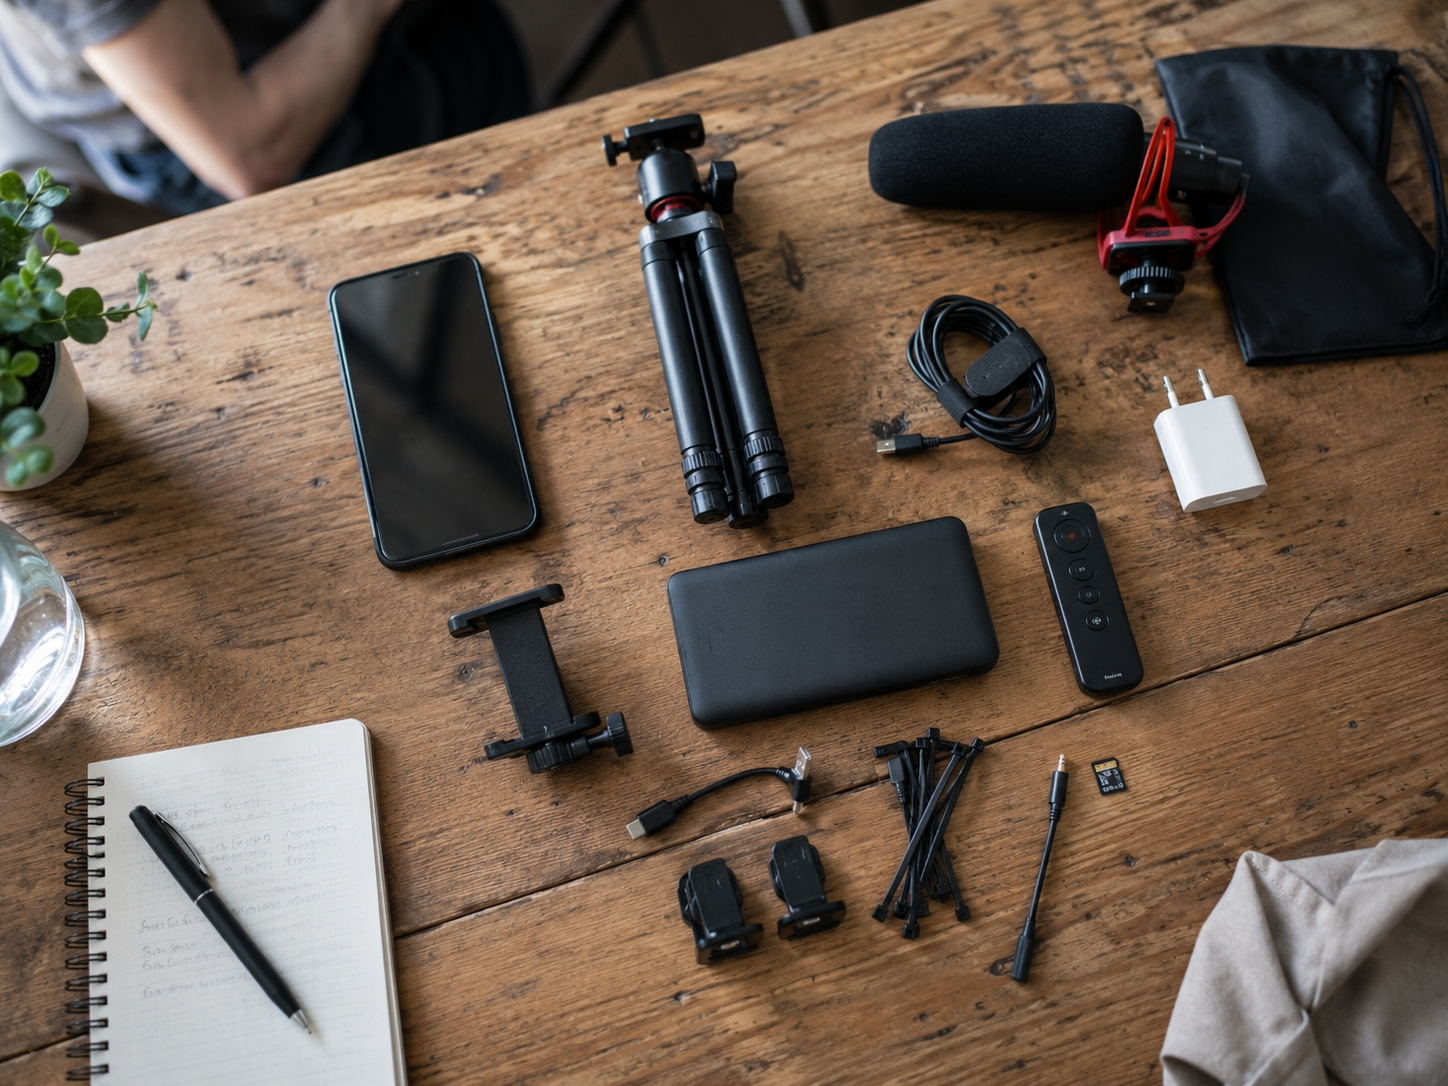
The most common beginner script mistake: writing things that can't be filmed.
"Demonstrate the process of making red-braised pork belly, showcasing the depth of Chinese culinary culture" — you can't shoot that. It's an essay title, not a scene.
Break it down: > Shot 1: Close-up of pork belly being cut into cubes. "Cut the pork belly into mahjong-sized pieces." > Shot 2: Medium shot, meat going into cold water for blanching. > Shot 3: Close-up of sugar caramelizing in the wok.
One shot, one sentence, one action. That's a script.
For talking-head segments — long stretches speaking directly to camera — don't memorize. Use a teleprompter. CueBuddy's AI voice tracking scrolls to match your pace. No remote, no person turning pages. Eyes stay near the lens naturally. This is especially helpful for beginners, because the number-one freeze trigger is "staring at the lens and forgetting everything."
Step 4: Shoot. Don't Chase Perfect.
For your first video, the goal is "finished," not "good."
Floor-level rules:
- Shoot horizontal (unless making vertical Shorts/TikTok content)
- Three takes per shot, pick the best
- Check your background — clutter pulls focus
- Forget a line mid-shoot? Stop, redo that sentence, cut the mistake in editing
You will discover script problems while shooting. That's normal. Note them. Fix on the next one.
Step 5: Edit. Start with the Basics.
Don't open DaVinci Resolve. Use CapCut — phone version is plenty.
Four-step editing workflow: 1. Rough assembly: Put all clips in script order. Delete obviously useless ones. 2. Tighten: Trim dead air from start/end of each clip. Cut wrong lines. 3. Captions: CapCut auto-generates. You proofread once. 4. Background music: Volume to 15% or lower. If it competes with your voice, it's too loud.
Effects, transitions, animations — skip all of it for video one. Simpler means fewer things to go wrong.
Step 6: Publish. Then Look Away.
After publishing, turn off notifications. Come back in three days.
Your first video's metrics are meaningless. The algorithm doesn't know you yet. The audience doesn't know you yet. But you've already done the hardest thing: going from zero to one.
Mindset
Your first video isn't a "work." It's "study material." Watch it back — you'll naturally see what needs fixing: talking too fast, not looking at the lens, lighting too dim. You'll fix those automatically on the next one.
Video two beats video one. Video ten beats video one by ten times.
Write those three sentences today. Film tomorrow. The only thing between you and your first video is pressing record.
CueBuddy is an iOS teleprompter with AI voice tracking — ideal for beginners who freeze when the camera light turns on. No login, no ads. Search "CueBuddy" on the App Store or visit cuebuddy.cn.
Try the free online teleprompter first
If you are solving script, pacing, line-memory, or filming workflow issues, open the browser teleprompter first and test the script there. Use the CueBuddy app when you need a stronger mobile recording workflow.
Start your next recording with CueBuddy
Try the free teleprompter workflow first, then open CueBuddy if you need stronger recording and camera workflows.