 CueBuddy
 Scan with your phone to download
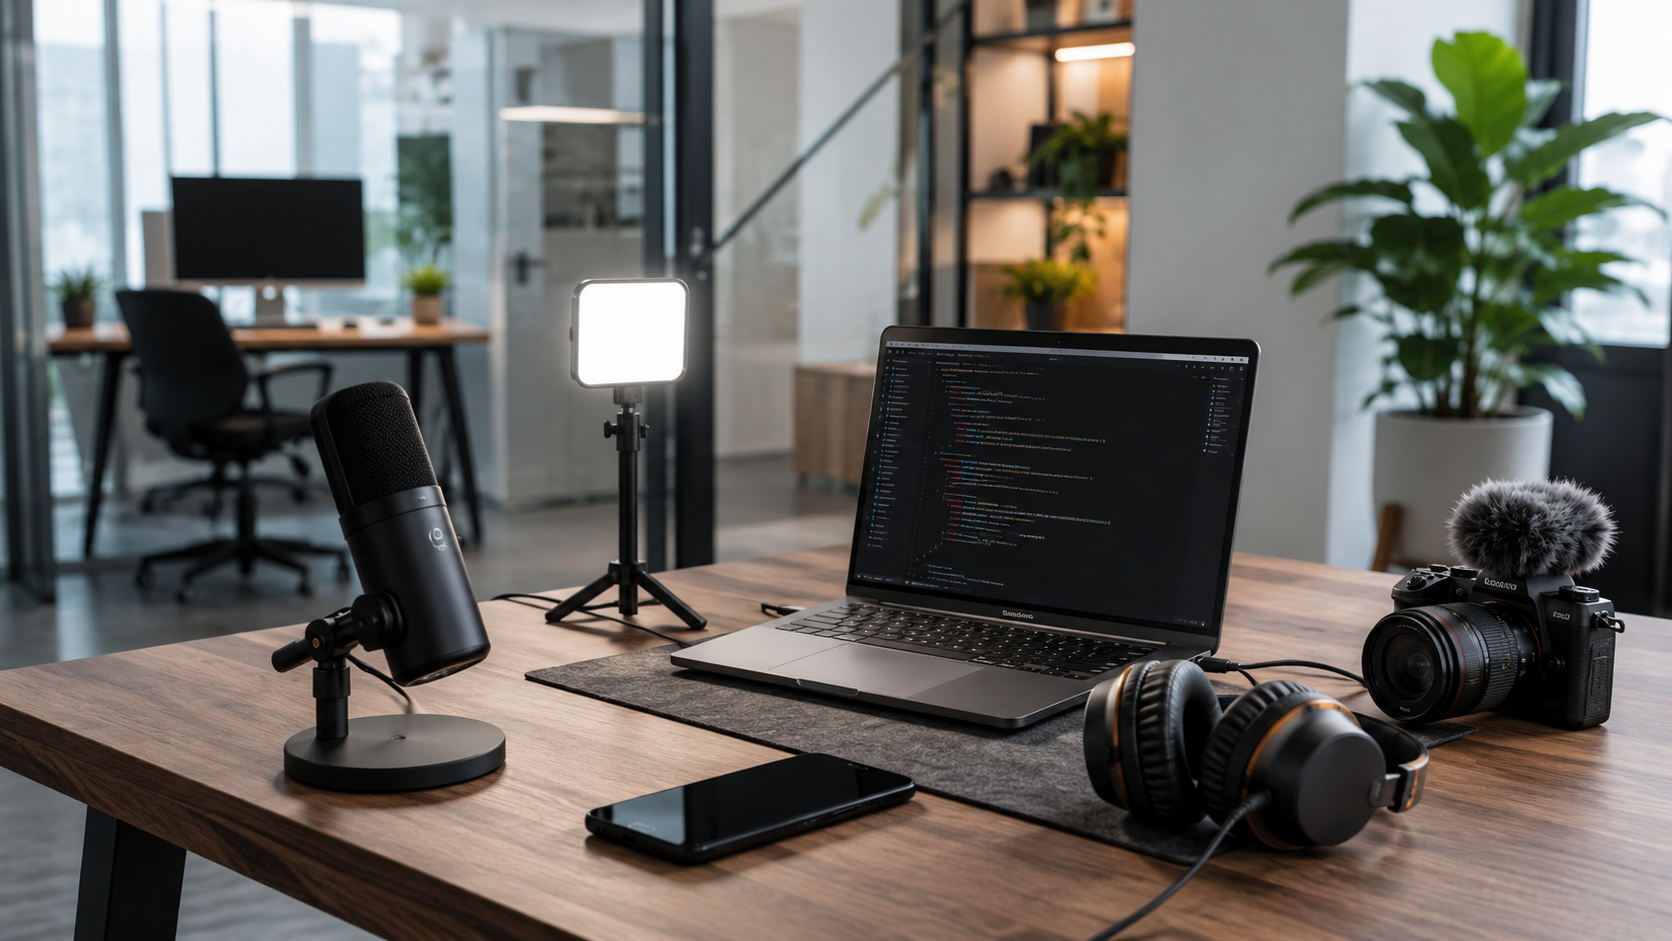
The root cause of slow video production isn't speed — it's making decisions at every step. Each decision burns willpower. When willpower runs out, the remaining steps become sloppy, error-prone, and require endless rework.
This article provides a standardized 7-step workflow with clear time limits and output targets. The goal: from idea to published, under 3 hours.
Step 1: The Idea Bank (10 minutes/day)
Never make a "what should I shoot today?" decision on the spot.
Build an idea bank using any tool — notes app, voice memos, messaging yourself. Anything that makes you think "I could make a video about that" gets written down immediately.
Format: a title + a one-sentence core angle.
Examples:
- "How much does ordering takeout for a month actually cost?" — tracked spending, triple what cooking costs
- "Why your resume gets left on read" — the average recruiter spends 6 seconds per resume
Two or three entries per day. Within a week you have a month of content.
Step 2: Speed-Scripting (30 minutes)
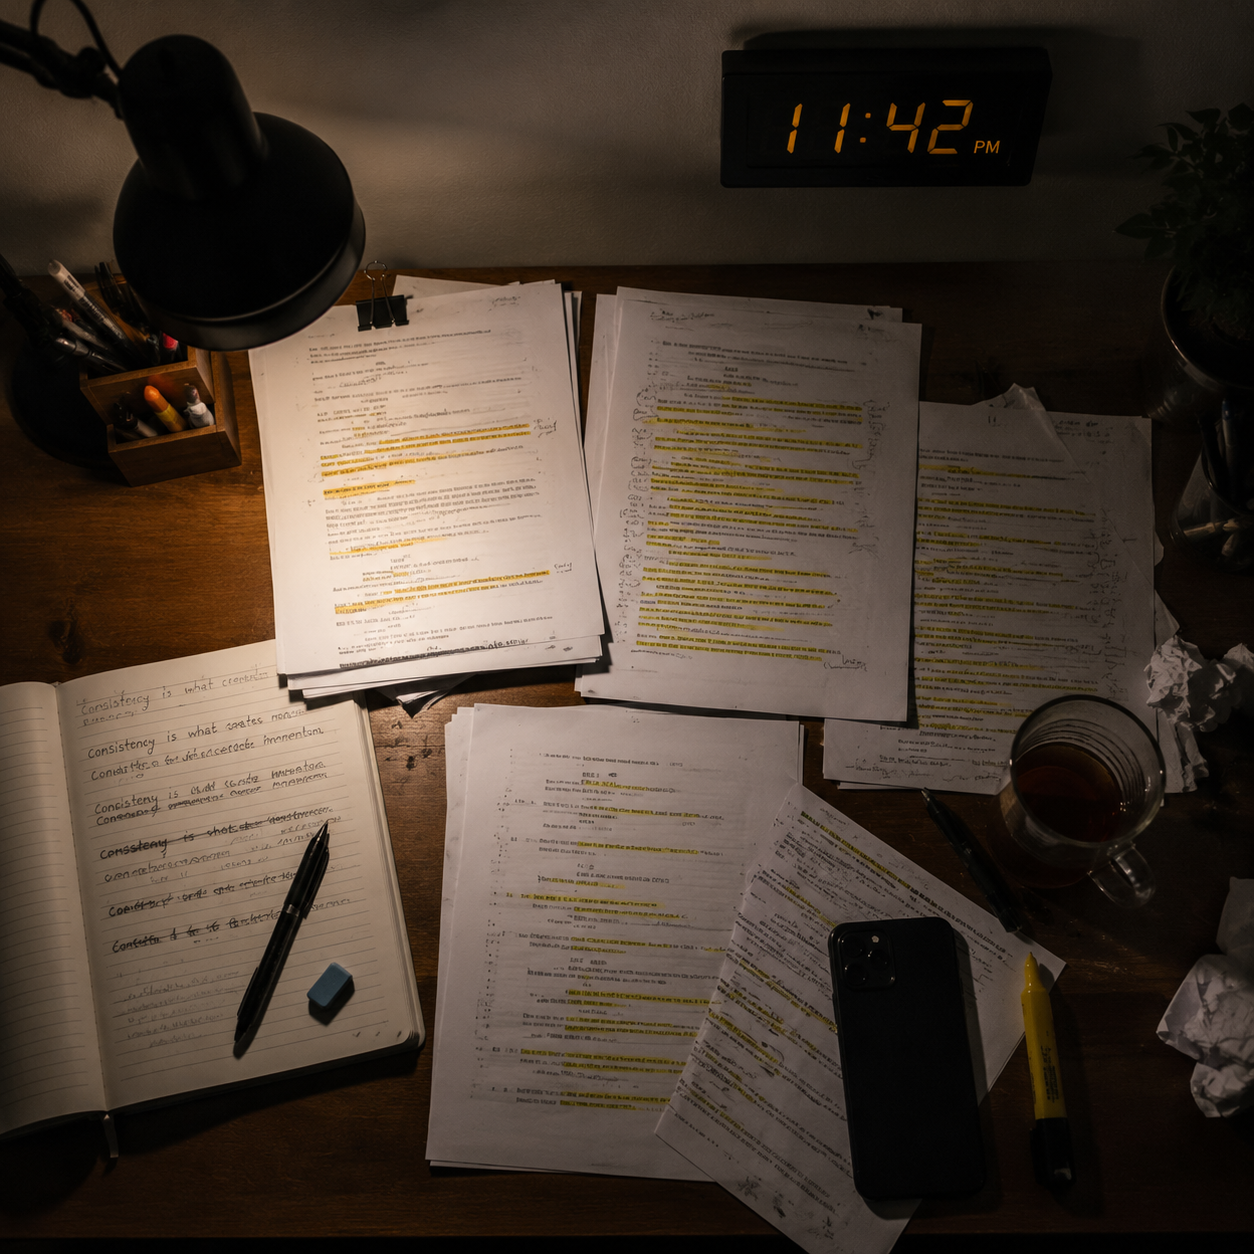
Pick a topic from your bank. Set a 30-minute timer. Write the script.
The fast method: speak it, don't type it. Open voice memos, talk through the topic, transcribe, clean it up. That's your script.
Structure template:
- Opening: one-sentence hook (question / conflict / counterintuitive angle)
- Middle: 3-5 key points, each with a concrete example
- End: one-sentence summary + engagement prompt
Timer up? Stop. The perfect script doesn't exist.
Step 3: Pre-Shoot Check (5 minutes)
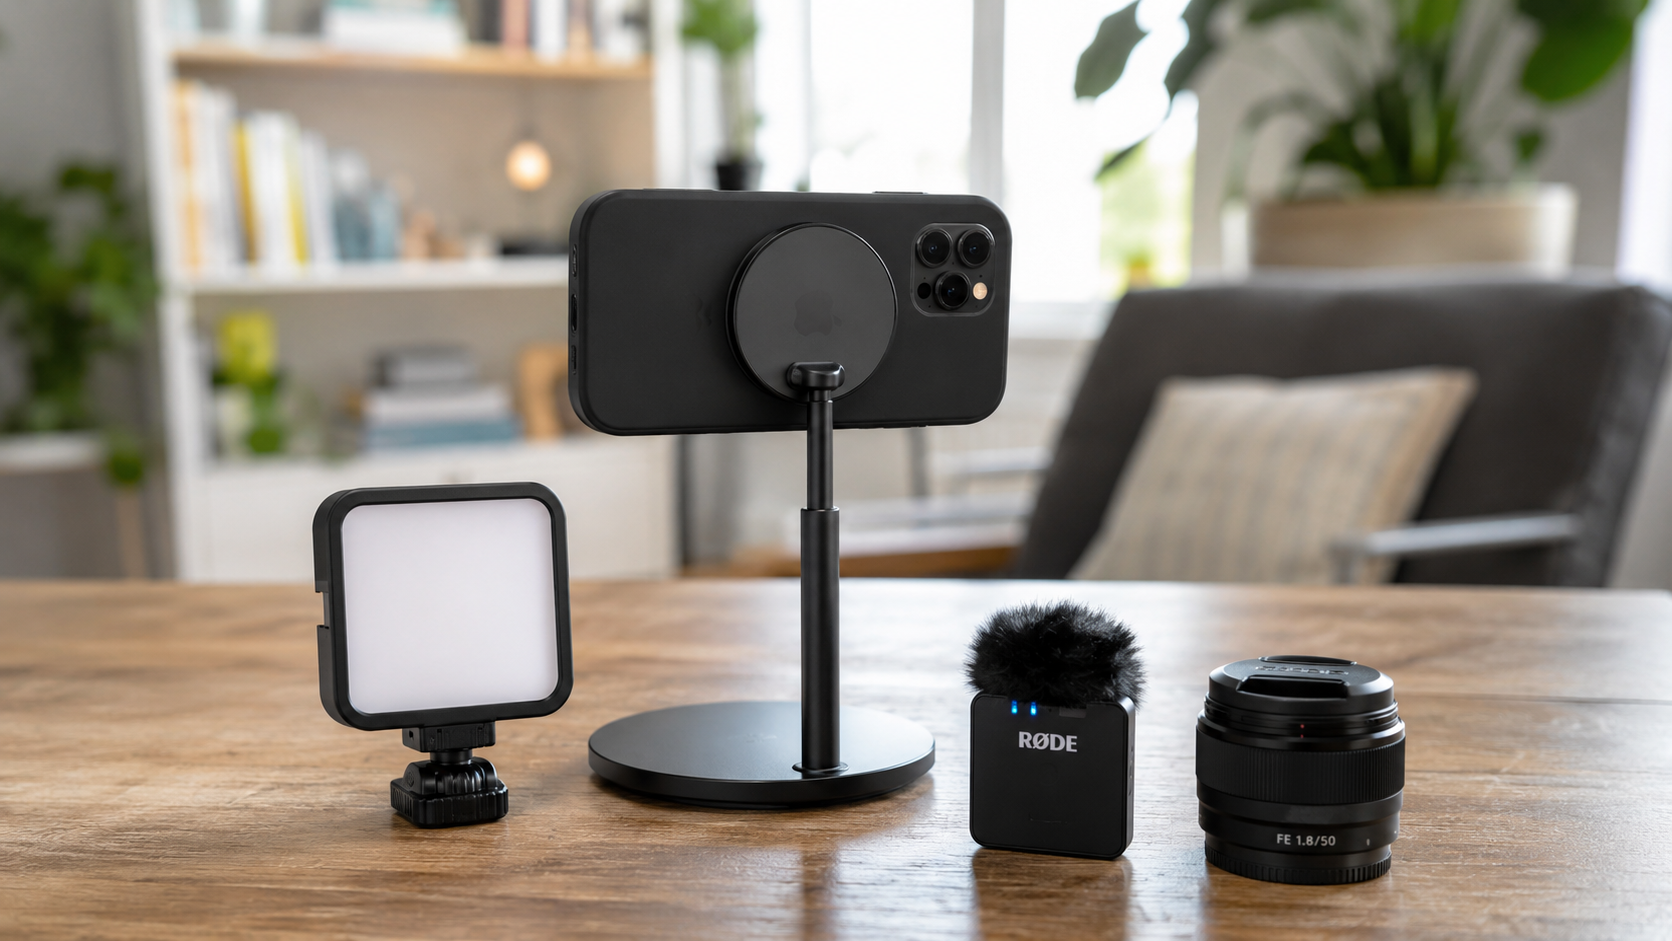
Before opening the camera:
- Lens is clean (far too many people skip this)
- Storage space for at least 15 minutes
- Room is quiet, windows closed
- Tripod is stable, frame is level
For talking-to-camera content, load your script into a teleprompter beforehand. CueBuddy handles this well: AI voice tracking scrolls at your pace, pauses when you stumble, and records up to 4K 60fps — no app switching needed.
Step 4: Shooting (40 minutes max)
Set a hard time cap. A-roll (talking to camera): 30 minutes max.
While shooting:
- Flub a line? Don't restart. Pause one beat, redo that sentence. Cut the gap in post.
- Something feels off? Try the line again with a different tone. More versions = more options.
- Look at the camera like it's a person's face, not a lens.
B-roll (supplementary footage): 10 minutes is enough.
Step 5: Rough Cut (30 minutes)
Three moves: 1. Arrange all footage in order 2. Trim dead air off each clip's head and tail 3. Play through once, delete anything clearly bad, redundant, or off-topic
No color grading. No effects. No agonizing. Move on when the timer goes off.
Step 6: Fine Cut + Polish (40 minutes)
- Add subtitles (auto-generate, then proofread)
- Add background music (stay under 15% volume)
- Layer B-roll over talking parts to break visual monotony
- Simple zooms and basic transitions
Step 7: Thumbnail + Title + Publish (20 minutes)
Thumbnails and titles are traffic gateways. Title formula: target audience + pain point + solution hint.
Example: "Cooking After a Long Commute? This Prep Trick Saves You 30 Minutes."
Thumbnail principle: big text, clear visuals, instantly communicates the topic.
Workflow at a Glance
| Step | Time |
|---|---|
| Idea bank upkeep | 10 min/day |
| Speed-scripting | 30 min |
| Pre-shoot check | 5 min |
| Shooting | 40 min |
| Rough cut | 30 min |
| Fine cut | 40 min |
| Thumbnail + title + publish | 20 min |
Total: under 3 hours from idea to published.
Beginners won't hit this pace immediately — that's normal. Around video number ten, this timeline stops being a target and becomes the natural result.
Efficiency isn't about being faster. It's about each step requiring zero deliberation.
Try the free online teleprompter first
If you are solving script, pacing, line-memory, or filming workflow issues, open the browser teleprompter first and test the script there. Use the CueBuddy app when you need a stronger mobile recording workflow.
Start your next recording with CueBuddy
Try the free teleprompter workflow first, then open CueBuddy if you need stronger recording and camera workflows.