 CueBuddy
 Scan with your phone to download
That two-minute video you just watched — the creator facing the camera, tone natural, pacing smooth, eyes steady — was almost certainly not "off the cuff." And they didn't "memorize" it either. Behind that video: a teleprompter.
From beginner to pro, indoor to outdoor, here's how teleprompters are used at every stage.
The Beginner Phase: Getting Through Camera Shyness
When first making talking-head content, the biggest enemy isn't content quality — it's "I can't bring myself to hit record."
Talking to a camera is a trained skill. You chat with people naturally all day, but the moment it's just a dark lens and a blinking recording light, your brain enters an abnormal state — pacing goes haywire, face freezes up, you blink too much, you forget what's next.
At this stage, the teleprompter's primary job isn't "helping you read a script." It's giving you a psychological anchor.
How to do it: write a word-for-word script. Don't leave anything out. Import it into the teleprompter. The script scrolls below the lens. Just follow along. The goal isn't "sounding natural" — it's "getting one complete take."
After 20–30 videos recorded this way, most people's camera anxiety drops noticeably. Volume of repetition builds muscle memory — your brain gets used to "glancing at script, looking at lens, speaking" as one integrated action.
The Intermediate Phase: From "Crutch" to "Assistant"
After a few dozen videos, a shift happens: you're not looking at the script as much.
You've internalized the content structure. The script shifts from "word-for-word dependency" to "key-point cues." A quick glance tells you what this section is about, and you expand in your own words.
Upgrade how you use the teleprompter:
Use an outline instead of a full script. Strip your complete script down to bullet-point outlines. Seeing "pain point: battery life" lets you naturally launch into a riff — in your own words, with your genuine tone.
Use section markers. Many teleprompter apps support pause points or section breaks. Drop a marker at every topic transition to avoid the "one long unbroken monologue" effect.
Embrace improvisation. If a good example or joke pops into your head mid-recording — say it. A good voice-tracking teleprompter (like CueBuddy) will wait. When you return to scripted material, it catches up. The script is your floor, not your ceiling.
The Pro Phase: The Teleprompter Fades Into the Background
By this stage, you don't technically need a teleprompter anymore. You can deliver an entire video off-script. But you're probably still keeping it on.
Two reasons:
One: insurance. Brain short-circuits halfway through? One glance and you're back on track. It's your safety net, not your wheelchair.
Two: efficiency. Pros record video after video, sometimes several in a day. With a teleprompter as backup, retakes per video drop from 3–4 to 1–2. Over a week, the time difference is massive.
Outdoor Recording: The Mobile Teleprompter Setup
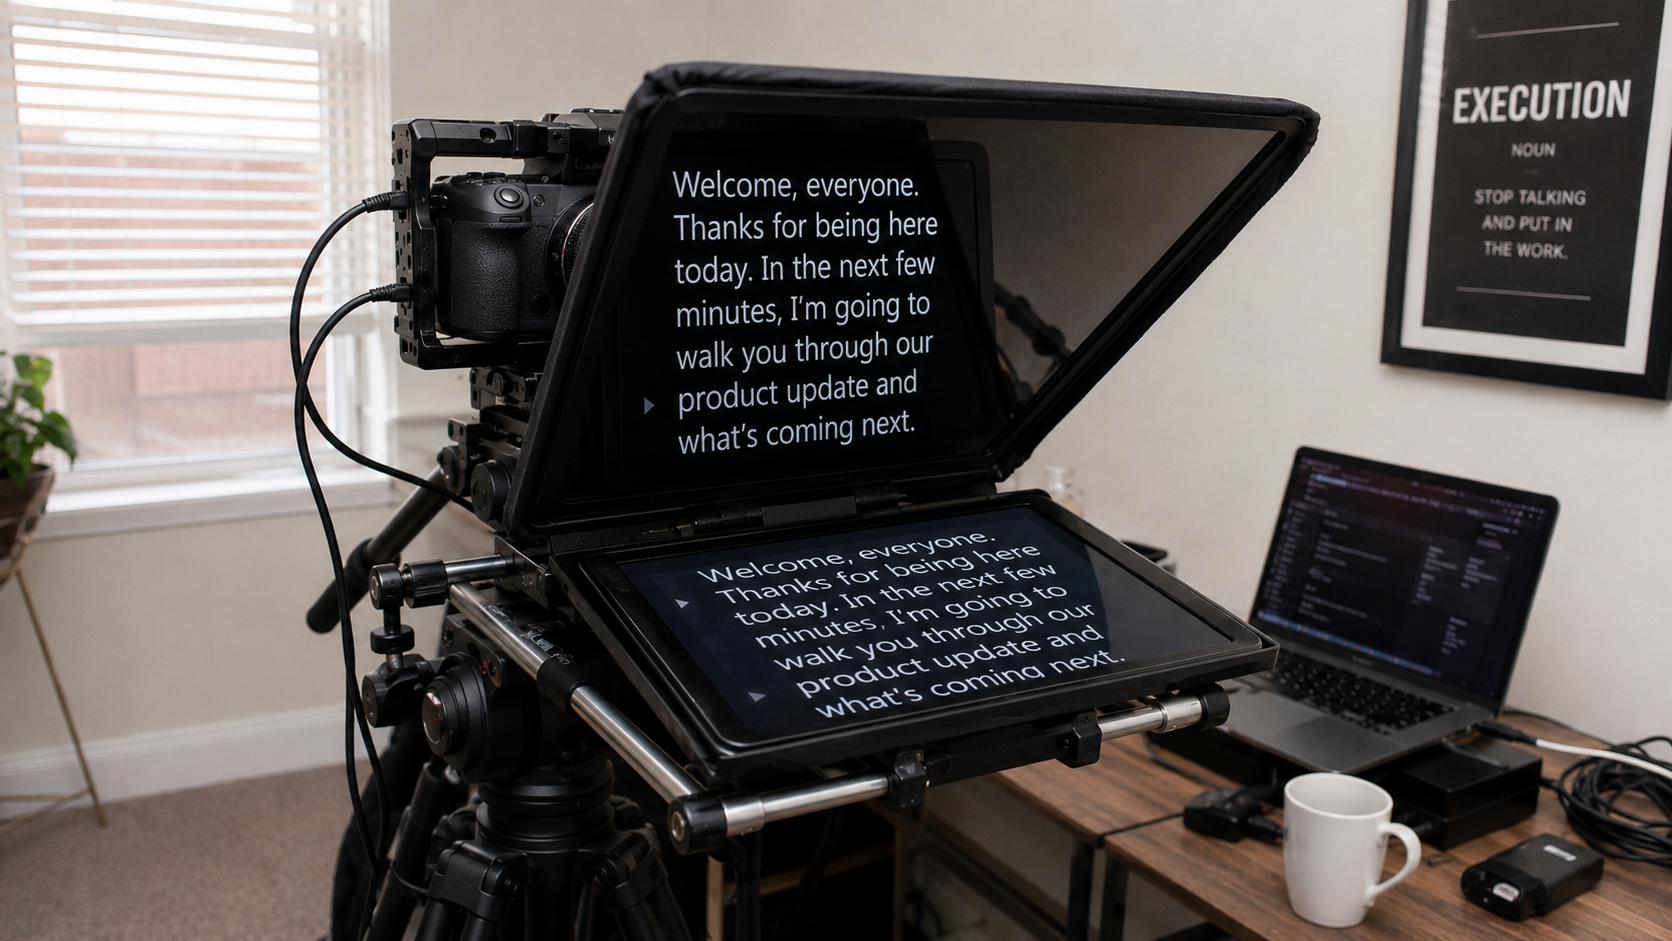
Teleprompters aren't indoor-only. Outdoor creators need them too.
Common setups:
Handheld + PiP floating prompter. The script hovers as a small window on your screen. Hold the phone as you walk and talk — eyes on the lens, peripheral vision catching the script. Works for street interviews, shop reviews, travel vlog voiceovers. CueBuddy's Picture-in-Picture mode is built for this.
Compact teleprompter rig. For outdoor fixed-position filming (like sitting outside a café), bring a portable teleprompter rig — tiny, folds to palm size. Mount it in front of the phone. Script reflects off the glass, same as indoors.
Bluetooth remote + audio cues. Some outdoor creators skip visual prompting and use audio cues — a pre-recorded cue track through earbuds. The most "invisible" setup, but demands strong pacing instincts.
Interviews and Conversations: The Hidden Use
Interview creators often prepare questions ahead of time, but mid-conversation, key questions slip through.
Solution: put your question list on a teleprompter next to the lens or on screen. Not to read verbatim — that'd feel stiff — but to glance at between topics, ensuring the next question flows naturally. Viewers won't notice. But they will notice the content feels more complete.
A Complete Video Workflow (Using CueBuddy as an Example)
Every creator's workflow differs, but the teleprompter's role is consistent:
1. Write: Draft your script in Notes, Notion, or wherever you prefer. 2. Import: Paste the script into the teleprompter app. Adjust font size, line spacing, background color. 3. Set up: Phone on a tripod. If using a physical teleprompter rig, enable mirror mode. 4. Test: Turn on voice tracking. Read a few lines aloud to confirm scroll speed matches your natural pace. 5. Record: Activate prompter recording. The script scrolls while the phone captures video. Glance at the script, speak. Look at the lens, speak. Switch freely. 6. Review: The recorded clip is already in your photo library. Review it, mark sections to trim. 7. Publish: Cut what needs cutting, add captions, publish.
From first draft to published video — no memorization step required.
That's the talking-head creator's secret: the work goes into writing, not memorizing.
Try the free online teleprompter first
If you are solving script, pacing, line-memory, or filming workflow issues, open the browser teleprompter first and test the script there. Use the CueBuddy app when you need a stronger mobile recording workflow.
Start your next recording with CueBuddy
Try the free teleprompter workflow first, then open CueBuddy if you need stronger recording and camera workflows.